
.webp)

.webp)
.webp)
.webp)


.svg)
.svg)

Introduction
One of the first questions homeowners ask after deciding to go solar is surprisingly simple.
"How long will everything take?"
The answer isn't always a fixed number of days. Some rooftop solar systems are installed and commissioned within a few weeks, while others take a little longer because approvals, inspections, or financing happen at different speeds.
The good news is that most installations follow the same broad sequence. Once you know what happens at each stage, it's much easier to understand where your project stands and what to expect next.
This guide walks you through the solar installation timeline India homeowners typically experience, from the first site visit to the day your rooftop system starts generating electricity.
Why Every Installation Has a Different Timeline
No two homes are exactly alike.
A compact rooftop in an urban neighborhood, for example, usually requires a different design from a large independent house in a semi-urban area. Some homeowners also choose financing, while others pay upfront. In addition, the time taken for technical approvals and inspections can vary between electricity distribution companies.
That's why the rooftop solar loan installation duration depends on a combination of factors, including:
- Roof size and layout.
- System capacity.
- Vendor availability.
- Financing requirements.
- DISCOM approvals.
- Net metering process.
Rather than thinking of installation as a single event, it helps to see it as a series of connected stages.
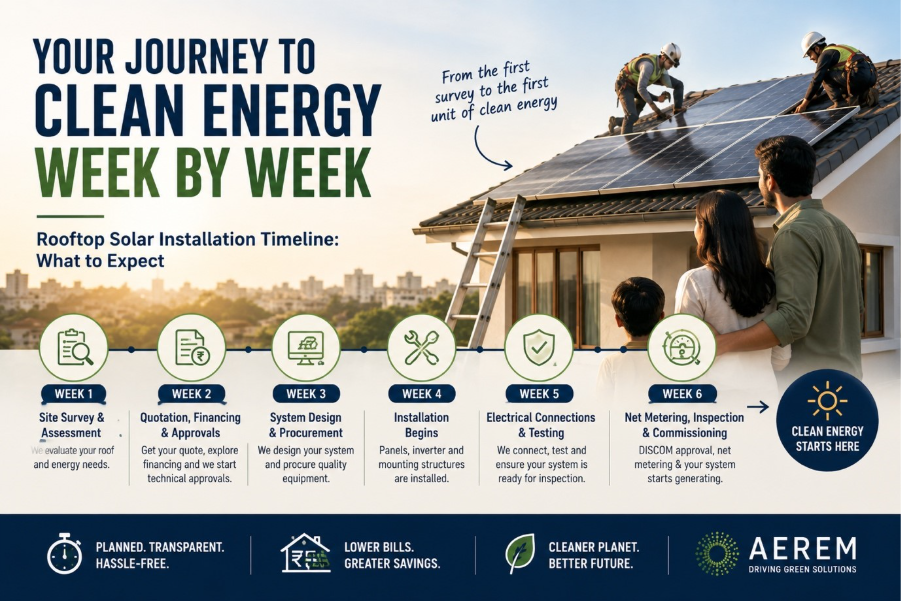
Week 1: Site Survey & Initial Assessment
The journey usually begins with a site visit.
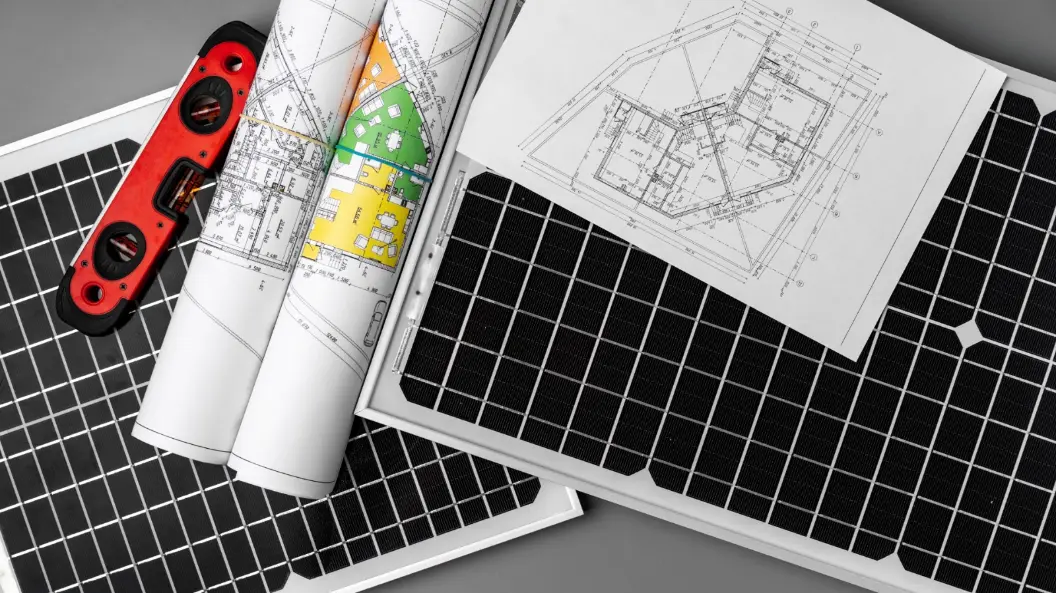
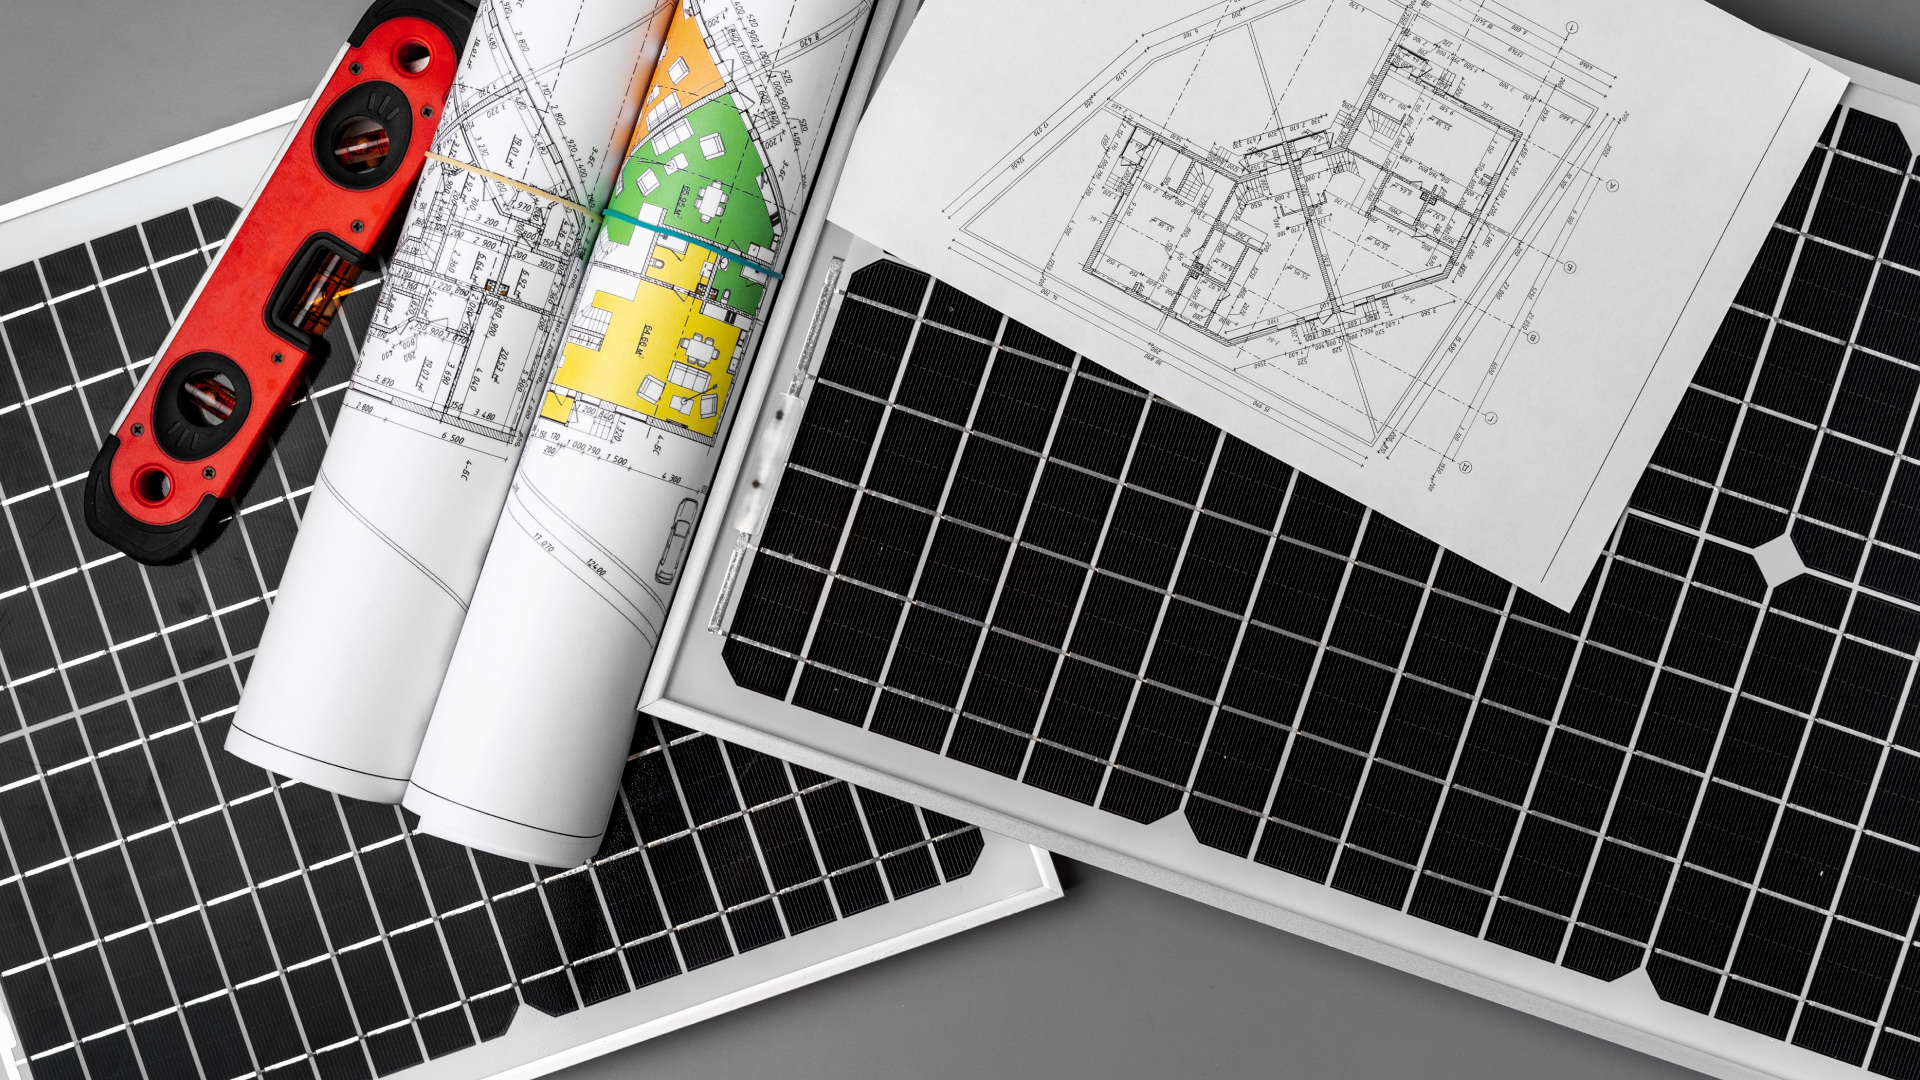
During this survey, the installation team studies your rooftop to understand whether it's suitable for solar and how the system should be designed.
They're not simply measuring the roof. They're looking at several practical details, including:
- Available roof space.
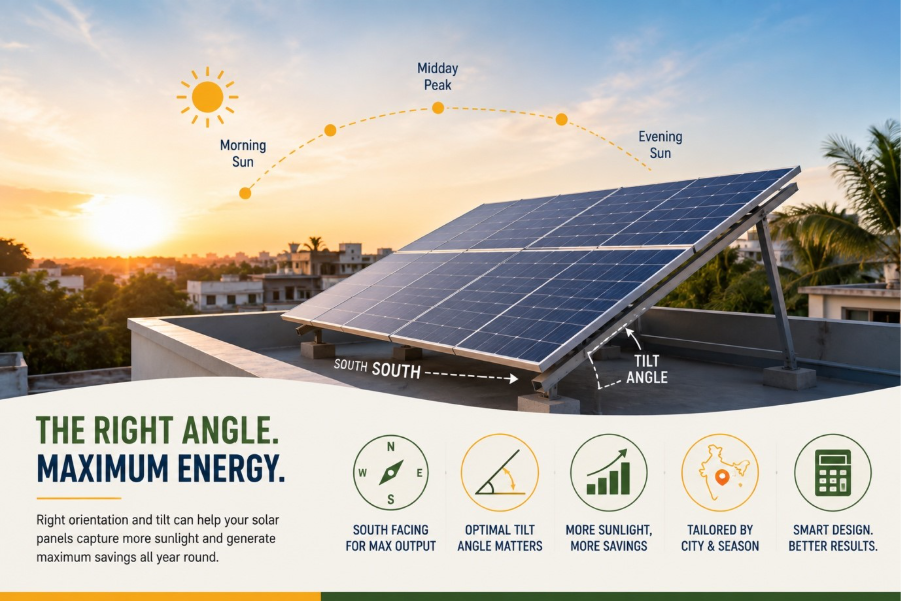
- Direction the roof faces.
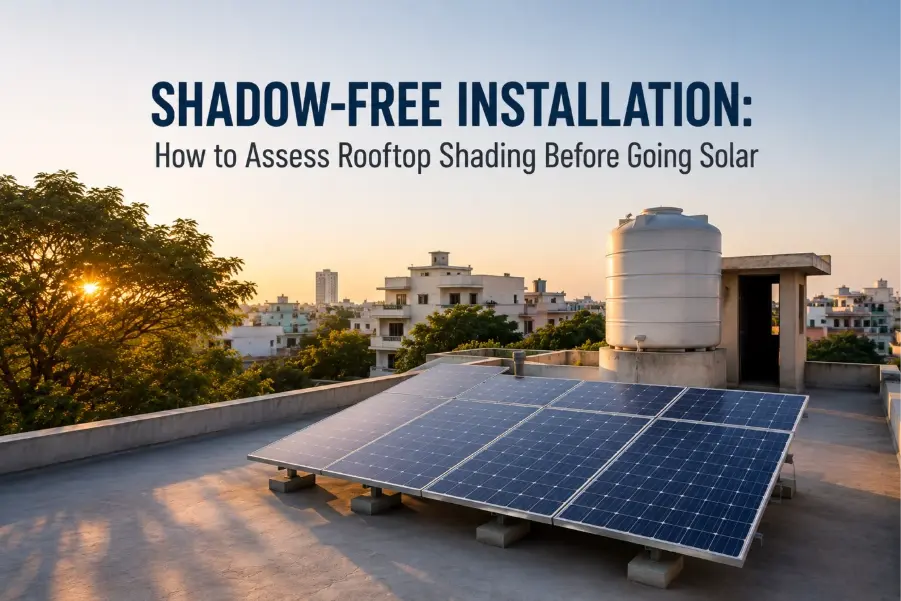
- Nearby trees or buildings that may create shade.
- Existing electrical connections.
- Structural condition of the roof.
Imagine two neighboring homes with similar rooftops. One receives uninterrupted sunlight throughout the day, while the other has a large water tank casting a shadow during the afternoon. Although both homes can install solar, the final system design is likely to be different.
This first visit lays the foundation for everything that follows.
Week 2: Quotation, Financing & Technical Approval
Once the survey is complete, you'll receive a quotation based on your electricity consumption and the proposed system size.
This is usually the stage where homeowners compare:
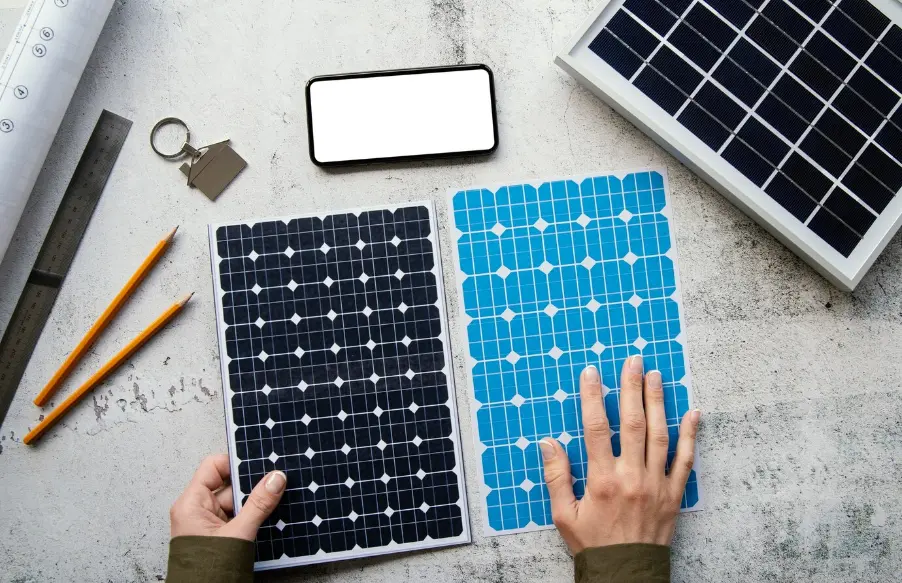
- Solar panel options.
- Inverter choices.
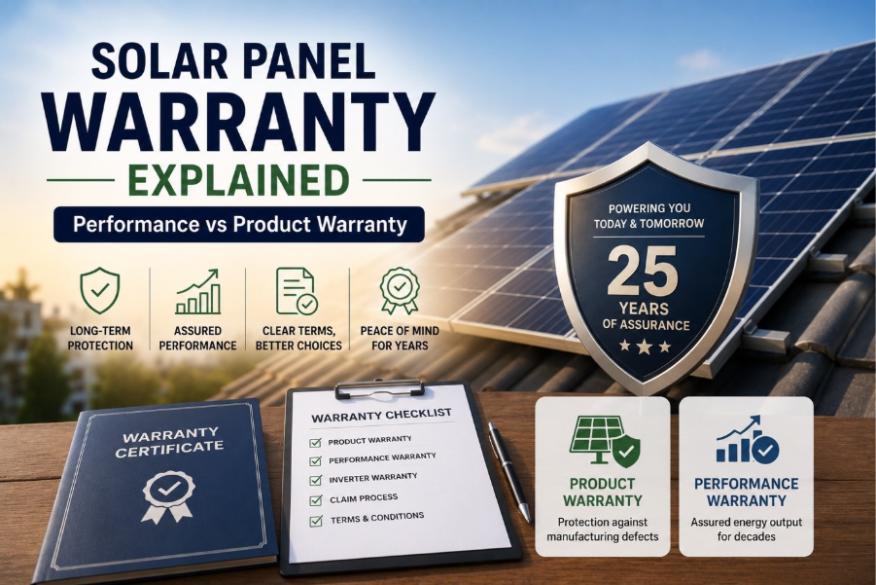
- Warranty coverage.
- Installation timelines.
- Total project cost.
If you're planning to finance the project, this is also when applications for a loan for solar rooftop systems are typically submitted.
Many homeowners prefer financing because it allows them to spread the investment over manageable monthly instalments while the solar system begins reducing electricity bills.
At the same time, the installer may begin the process of obtaining technical feasibility approval from the local DISCOM, wherever applicable.
Week 3: System Design & Procurement
Once approvals begin moving forward, attention shifts to preparing the actual system.
The EPC team finalizes the engineering design based on the site survey and orders the required equipment.
This usually includes:
- Solar panels.
- Inverter.
- Mounting structures.
- Electrical cables.
- Safety equipment.
- Monitoring accessories.
Although homeowners may not notice much visible activity during this stage, it's an important part of the overall residential solar panel installation process steps.
Having all the required equipment ready before installation helps the work progress smoothly once the installation team arrives on site.
Week 4: Installation Begins
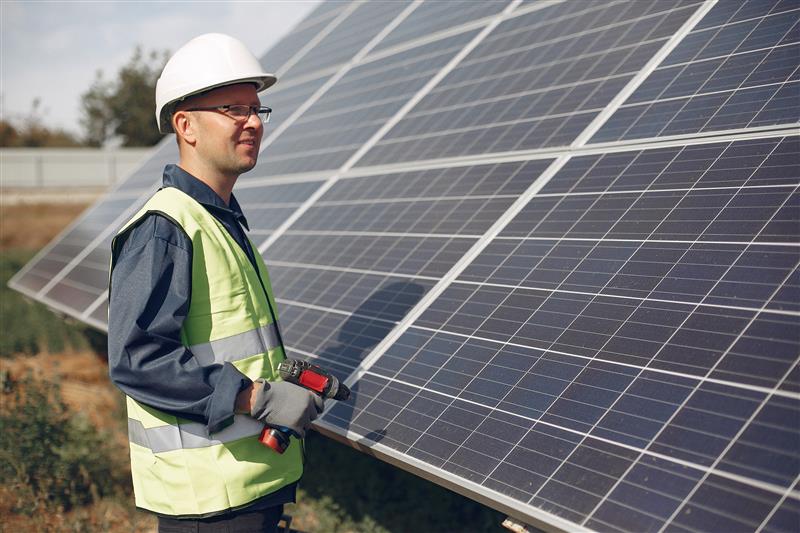
This is the stage most homeowners look forward to because the project finally becomes visible.
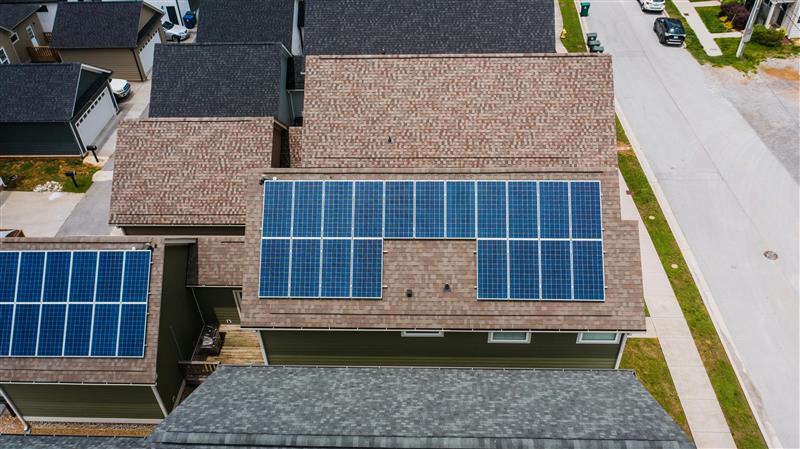
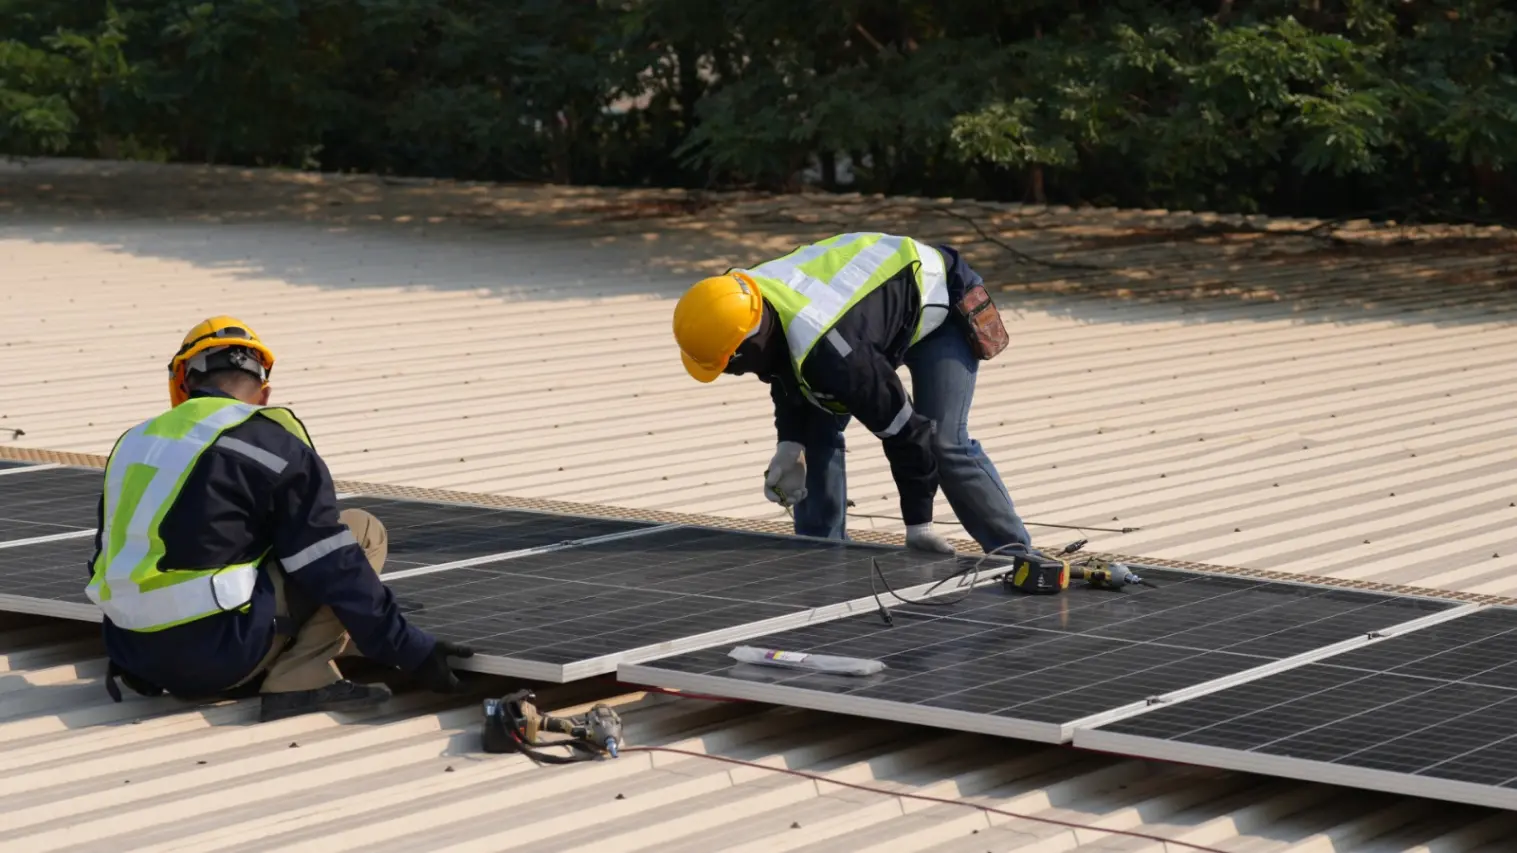
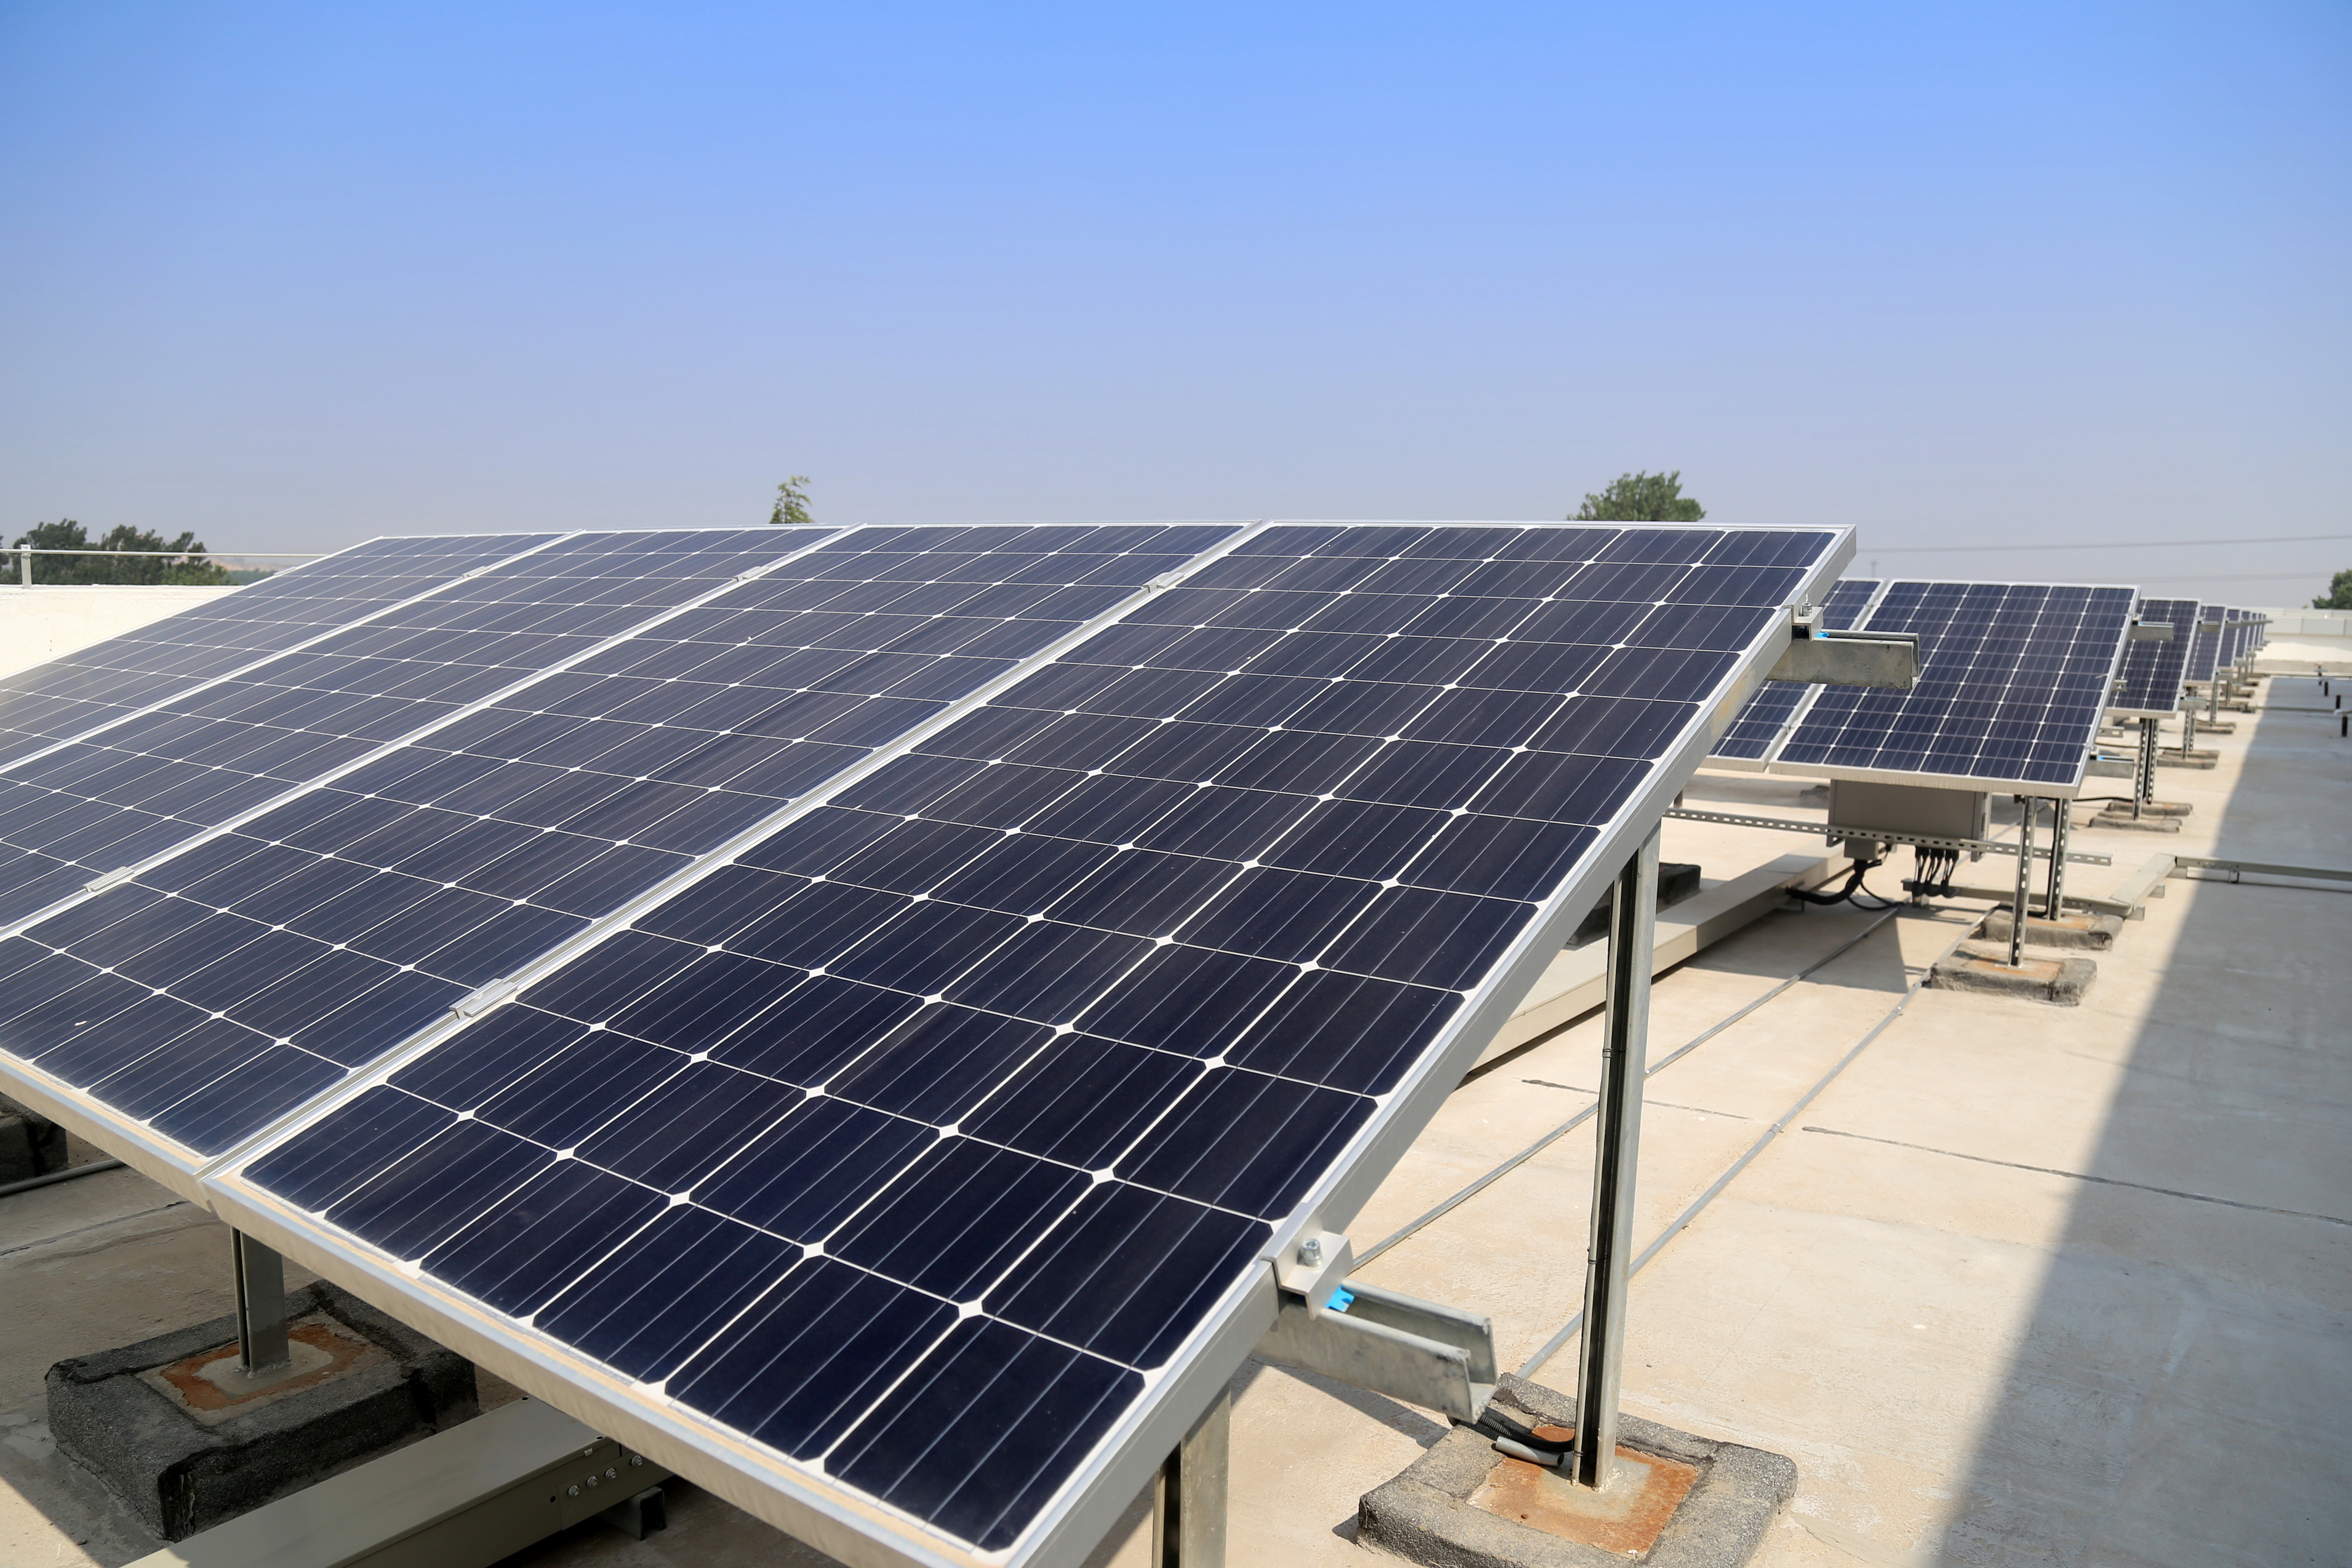
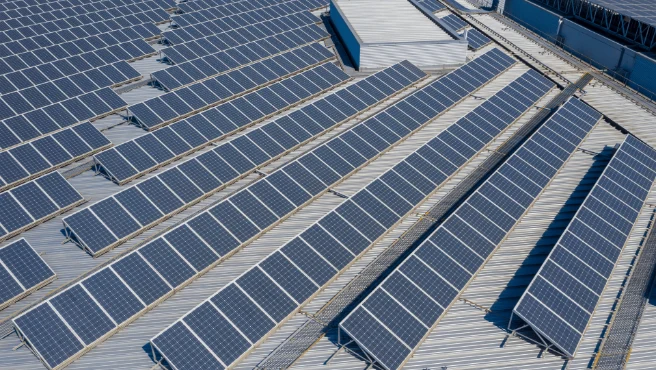
The installation team begins by assembling the mounting structure before placing the solar panels securely on the rooftop.
Depending on the size of the system, installation itself often takes only a few days.
During this stage, you'll usually see work such as:
- Installing the mounting framework.
- Fixing the solar panels.
- Routing electrical cables.
- Installing the inverter.
- Connecting safety equipment.
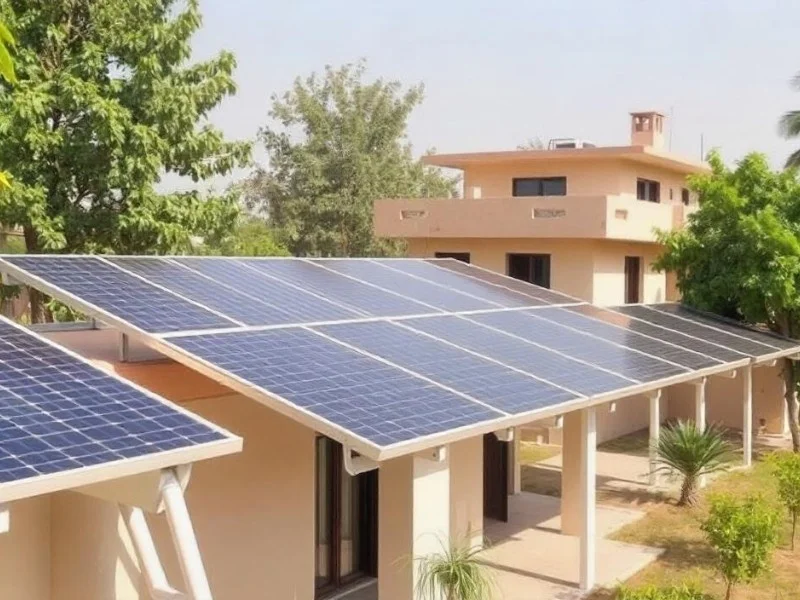
By the end of the week, your rooftop may already look like a fully functional solar system.
The remaining steps involve testing, approvals, and commissioning before electricity generation officially begins.
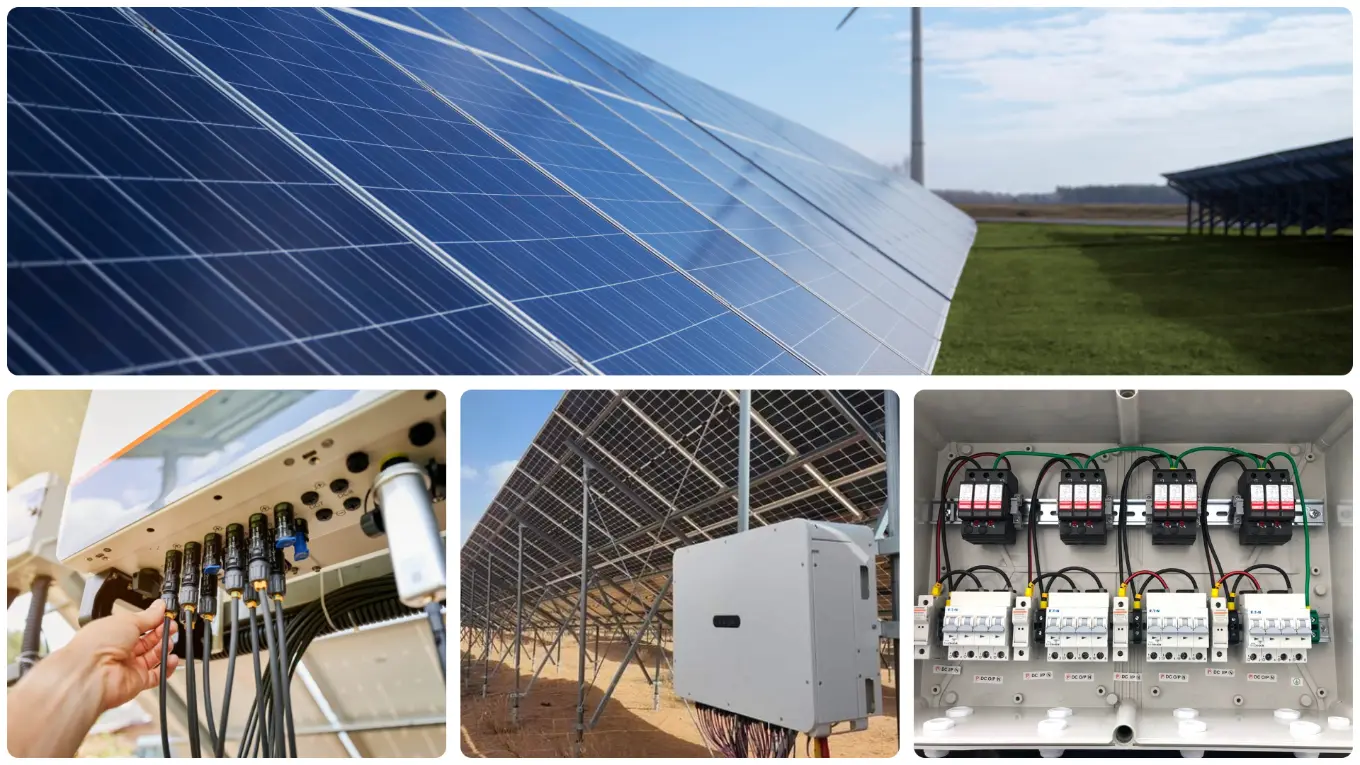
Week 5: Electrical Connections & Testing
With the panels and inverter in place, the focus shifts from installation to making sure everything works safely.
This is where electricians complete the internal wiring, connect the inverter, and carry out a series of checks before the system is ready for inspection.
Some of the work completed during this stage includes:
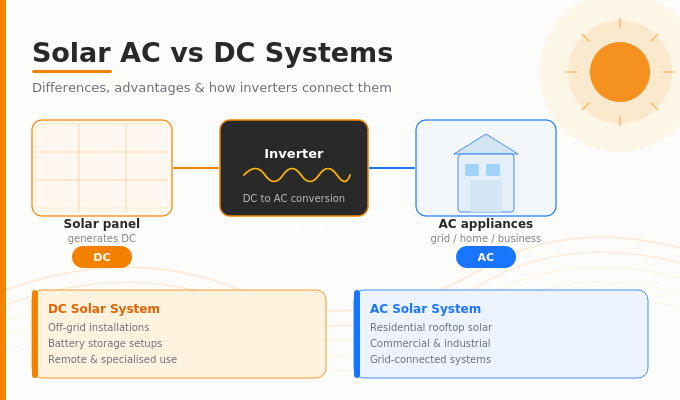
- Connecting the solar panels to the inverter.
- Testing electrical connections.
- Checking earthing and safety systems.
- Configuring the inverter.
- Verifying that the system performs as expected.
From a homeowner's perspective, this stage may not look very different from the previous week. Behind the scenes, though, it's one of the most important parts of the project. These checks help ensure the system is safe, efficient, and ready for commissioning.
Week 6: Net Metering, Inspection & Commissioning
The final stage is where your rooftop solar system officially becomes operational.
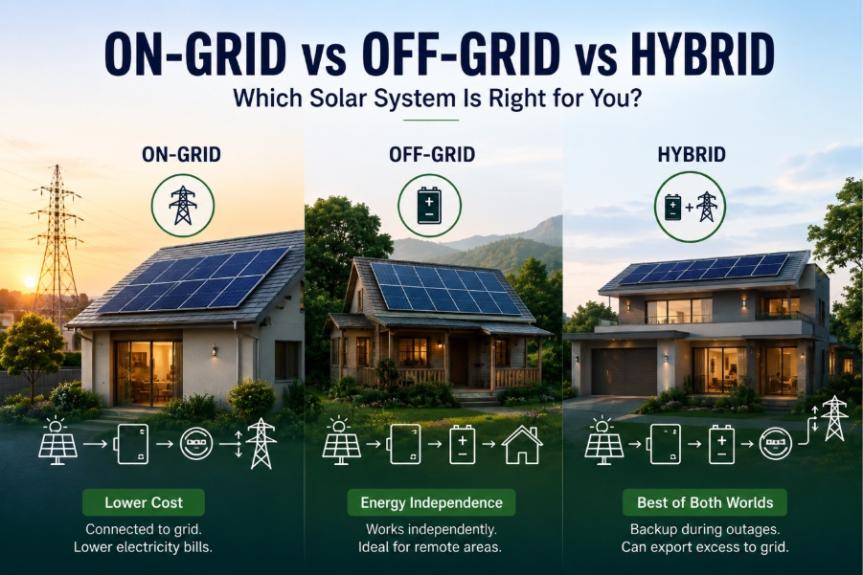
If you've applied for a grid-connected system, the local DISCOM completes the inspection and, where applicable, installs or activates the net meter. Once the required approvals are in place, the system is commissioned and begins generating electricity.
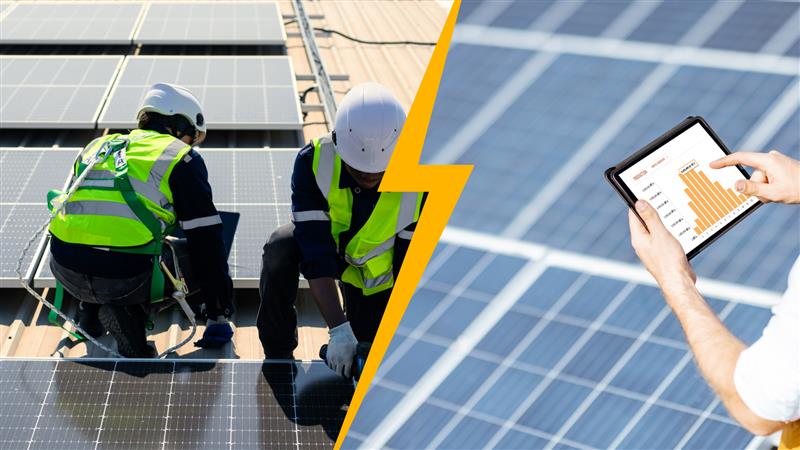
For many homeowners, this is also the first time they open the monitoring app and watch the system produce power in real time.
Although the installation itself may take only a few days, this approval stage often explains why people ask, "How long does solar installation take?" The answer depends not only on the physical installation but also on inspections and utility approvals.
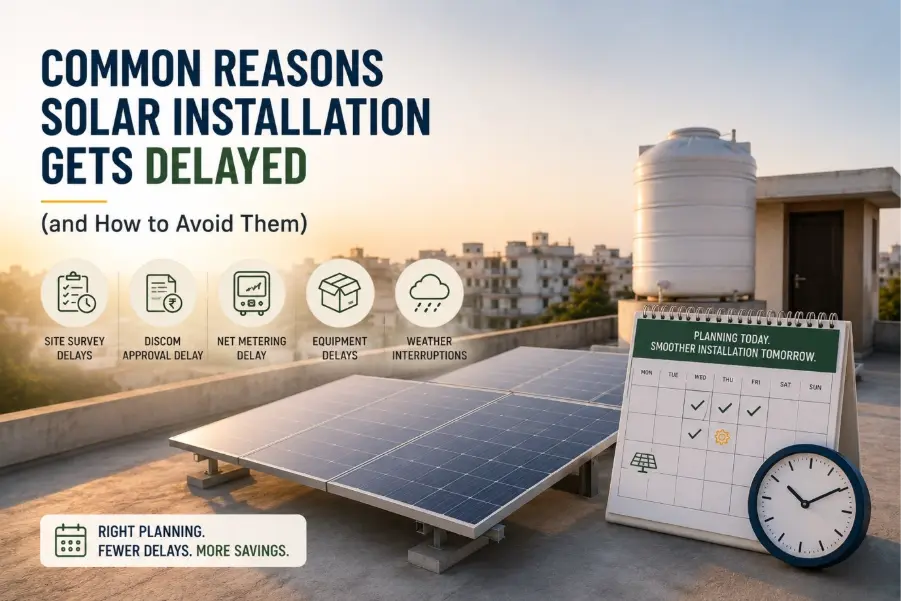
What Can Delay a Solar Installation?
Most projects move forward smoothly, but a few factors can extend the overall timeline.
Some of the more common reasons include:
- Waiting for technical feasibility approval.
- Delays in net metering inspections.
- Weather interruptions during installation.
- Changes to the original system design.
- Equipment availability.
- Incomplete documentation for financing or subsidy applications.
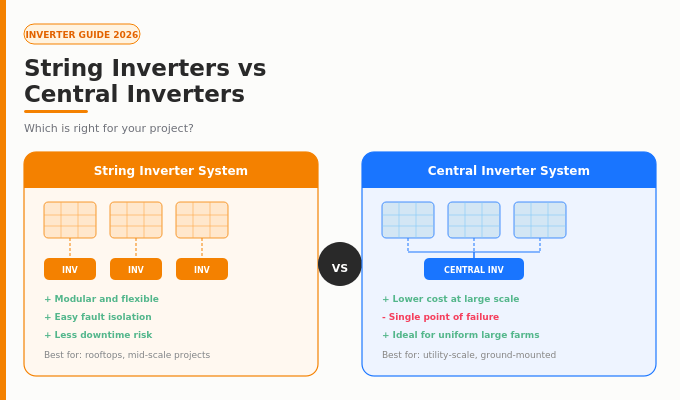
For example, if a homeowner decides midway through the project to upgrade from a standard string inverter to a hybrid system with battery backup, the installer may need to revise the design and source additional equipment.
Small changes like these can add a little extra time, even though they may improve the final system.
Tips to Speed Up Your Installation
While some parts of the process depend on your installer and DISCOM, there are a few things homeowners can do to help the project move faster.
A little preparation before work begins often makes a noticeable difference.
Here are a few simple tips:
- Keep your recent electricity bill ready.
- Share accurate property and identity details.
- Decide on the system size before requesting quotations.
- Respond promptly if your installer requests additional information.
- If you're opting for a loan for a solar rooftop, complete the financing paperwork as early as possible.
- Choose an experienced EPC partner familiar with your local DISCOM's process.
None of these steps are complicated, but together they can help avoid unnecessary back-and-forth once the project is underway.
How Aerem Makes the Journey Simpler
Installing rooftop solar involves more than just buying panels.
There are surveys, system design, financing, approvals, installation, and commissioning to coordinate. Keeping all these stages aligned can make the experience much smoother for homeowners.
Aerem brings these steps together by helping customers connect with trusted installation partners while also offering financing solutions for those who prefer to spread the investment over monthly repayments.
Instead of managing multiple service providers independently, homeowners receive support throughout the project, from planning the system to seeing it generate electricity for the first time.
Conclusion
Installing rooftop solar is a journey that unfolds in stages rather than a single day of work. From the first site survey to the moment your system starts generating electricity, each step plays an important role in ensuring the installation is safe, efficient, and built to perform for years to come.
While the exact timeline varies from one project to another, understanding what happens each week makes the process far less uncertain. You'll know when approvals are expected, why inspections matter, and how different teams contribute to getting your system up and running.
With the right installer, clear communication, and a little preparation, the wait is usually well worth it. Before long, you'll be watching your rooftop generate clean electricity and lower your monthly power bills.
















.png)


.png)



.jpeg)
.jpeg)





.jpeg)










.jpeg)
.webp)
.png)
.png)
.png)
.png)
.png)

.png)
.jpg)
